How to Apply UV DTF Transfers
Try our UV Decal Transfers on your next creative projects!
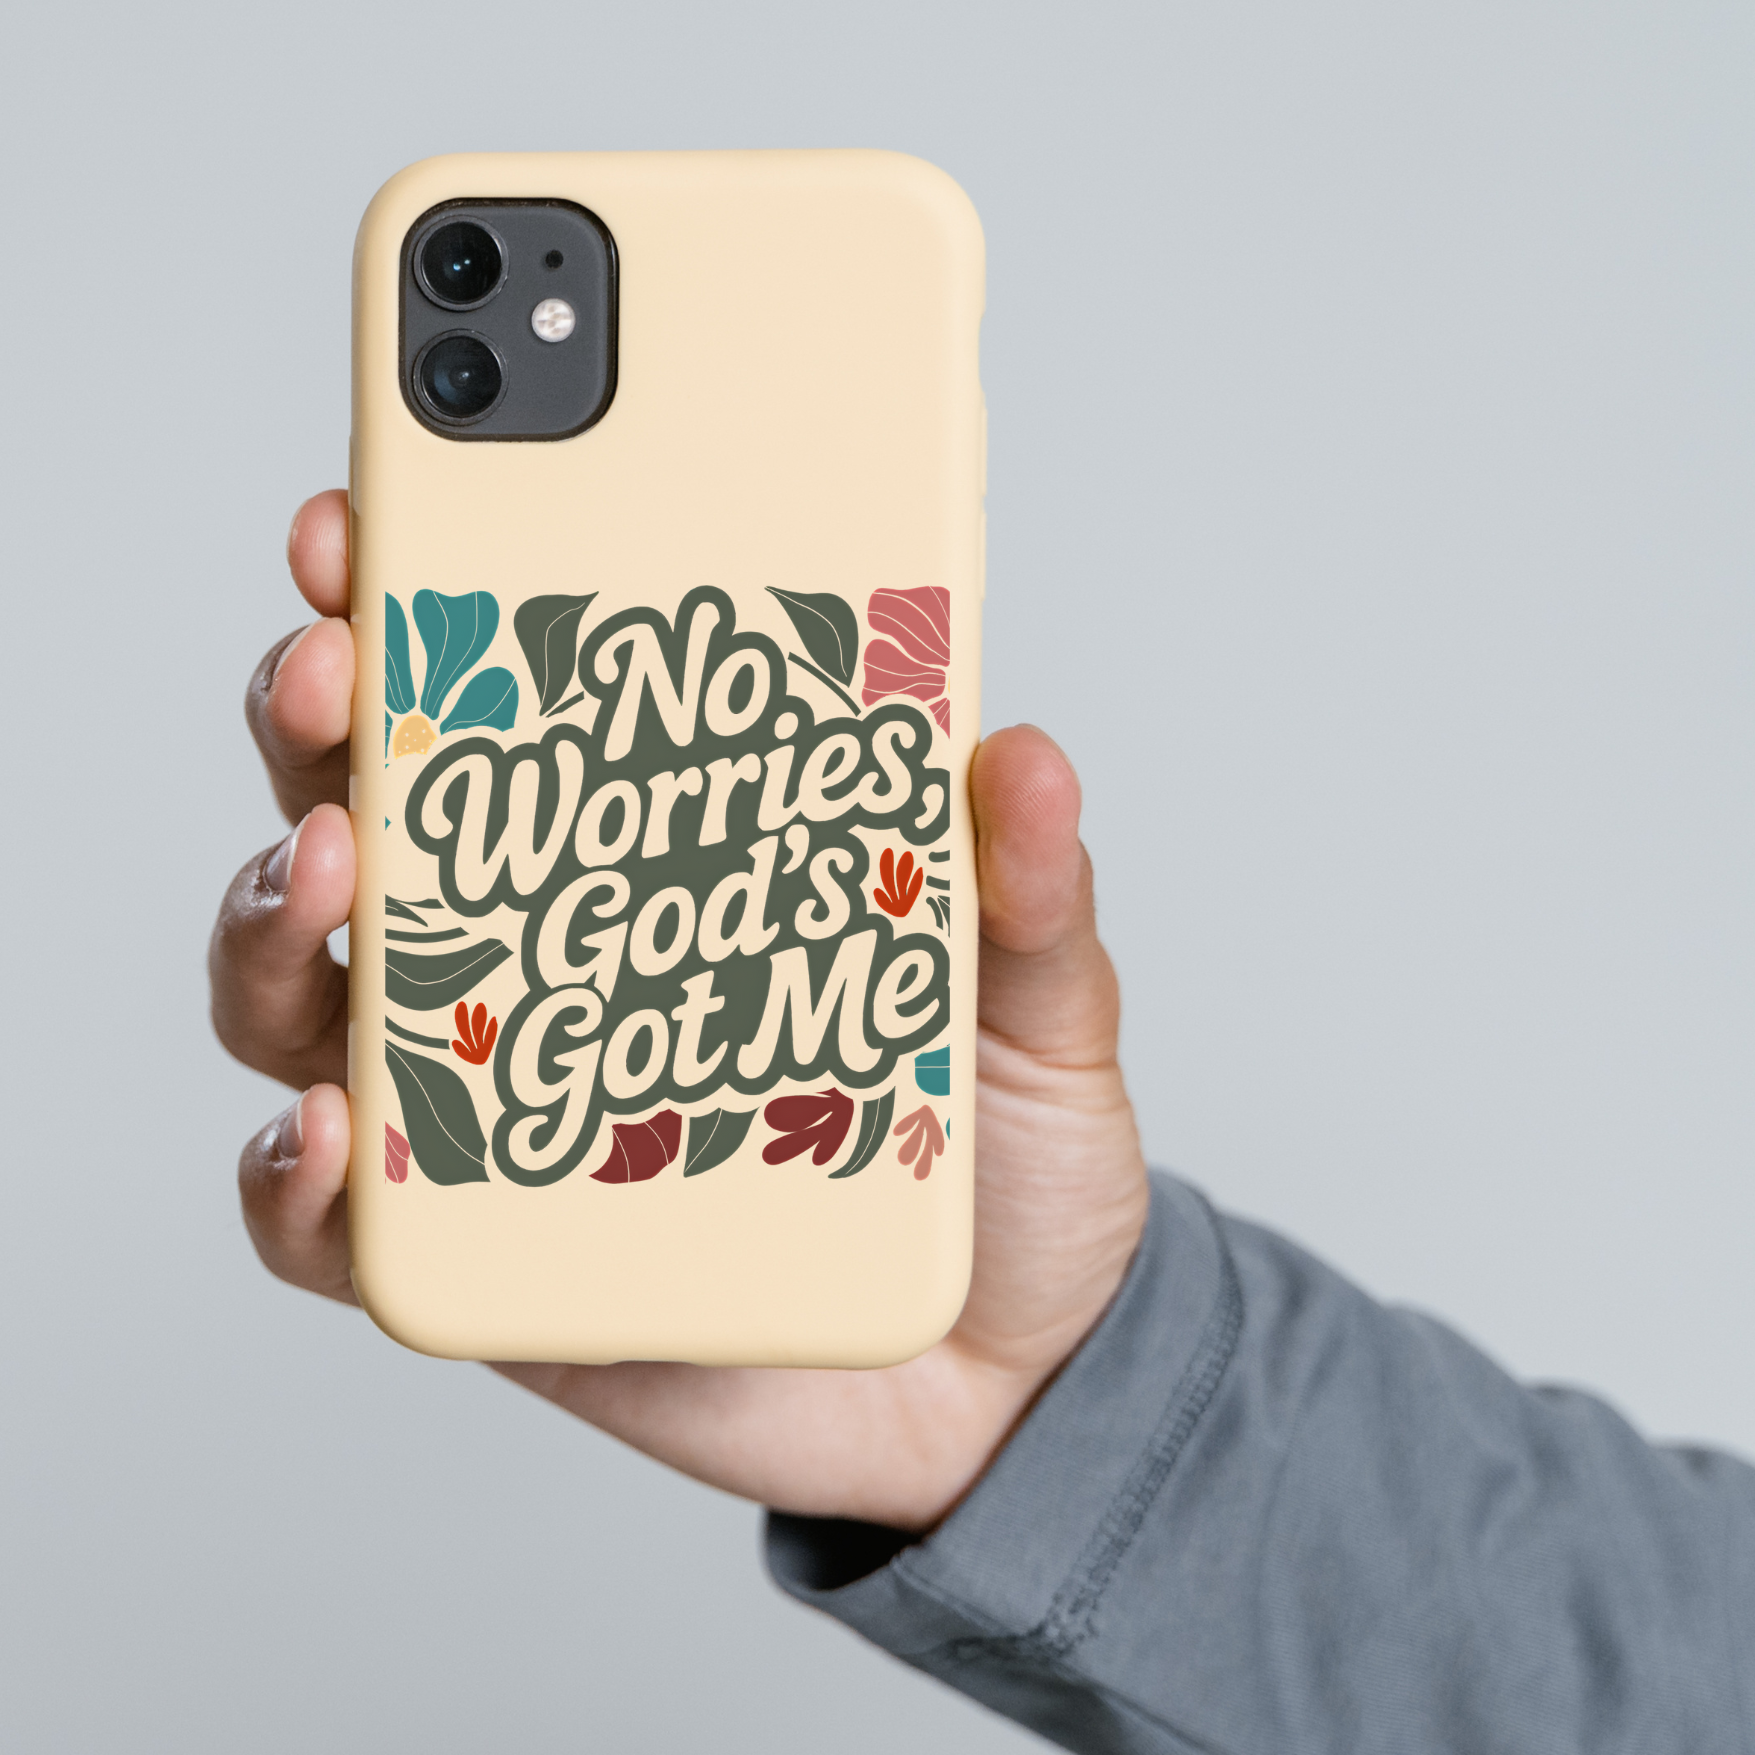
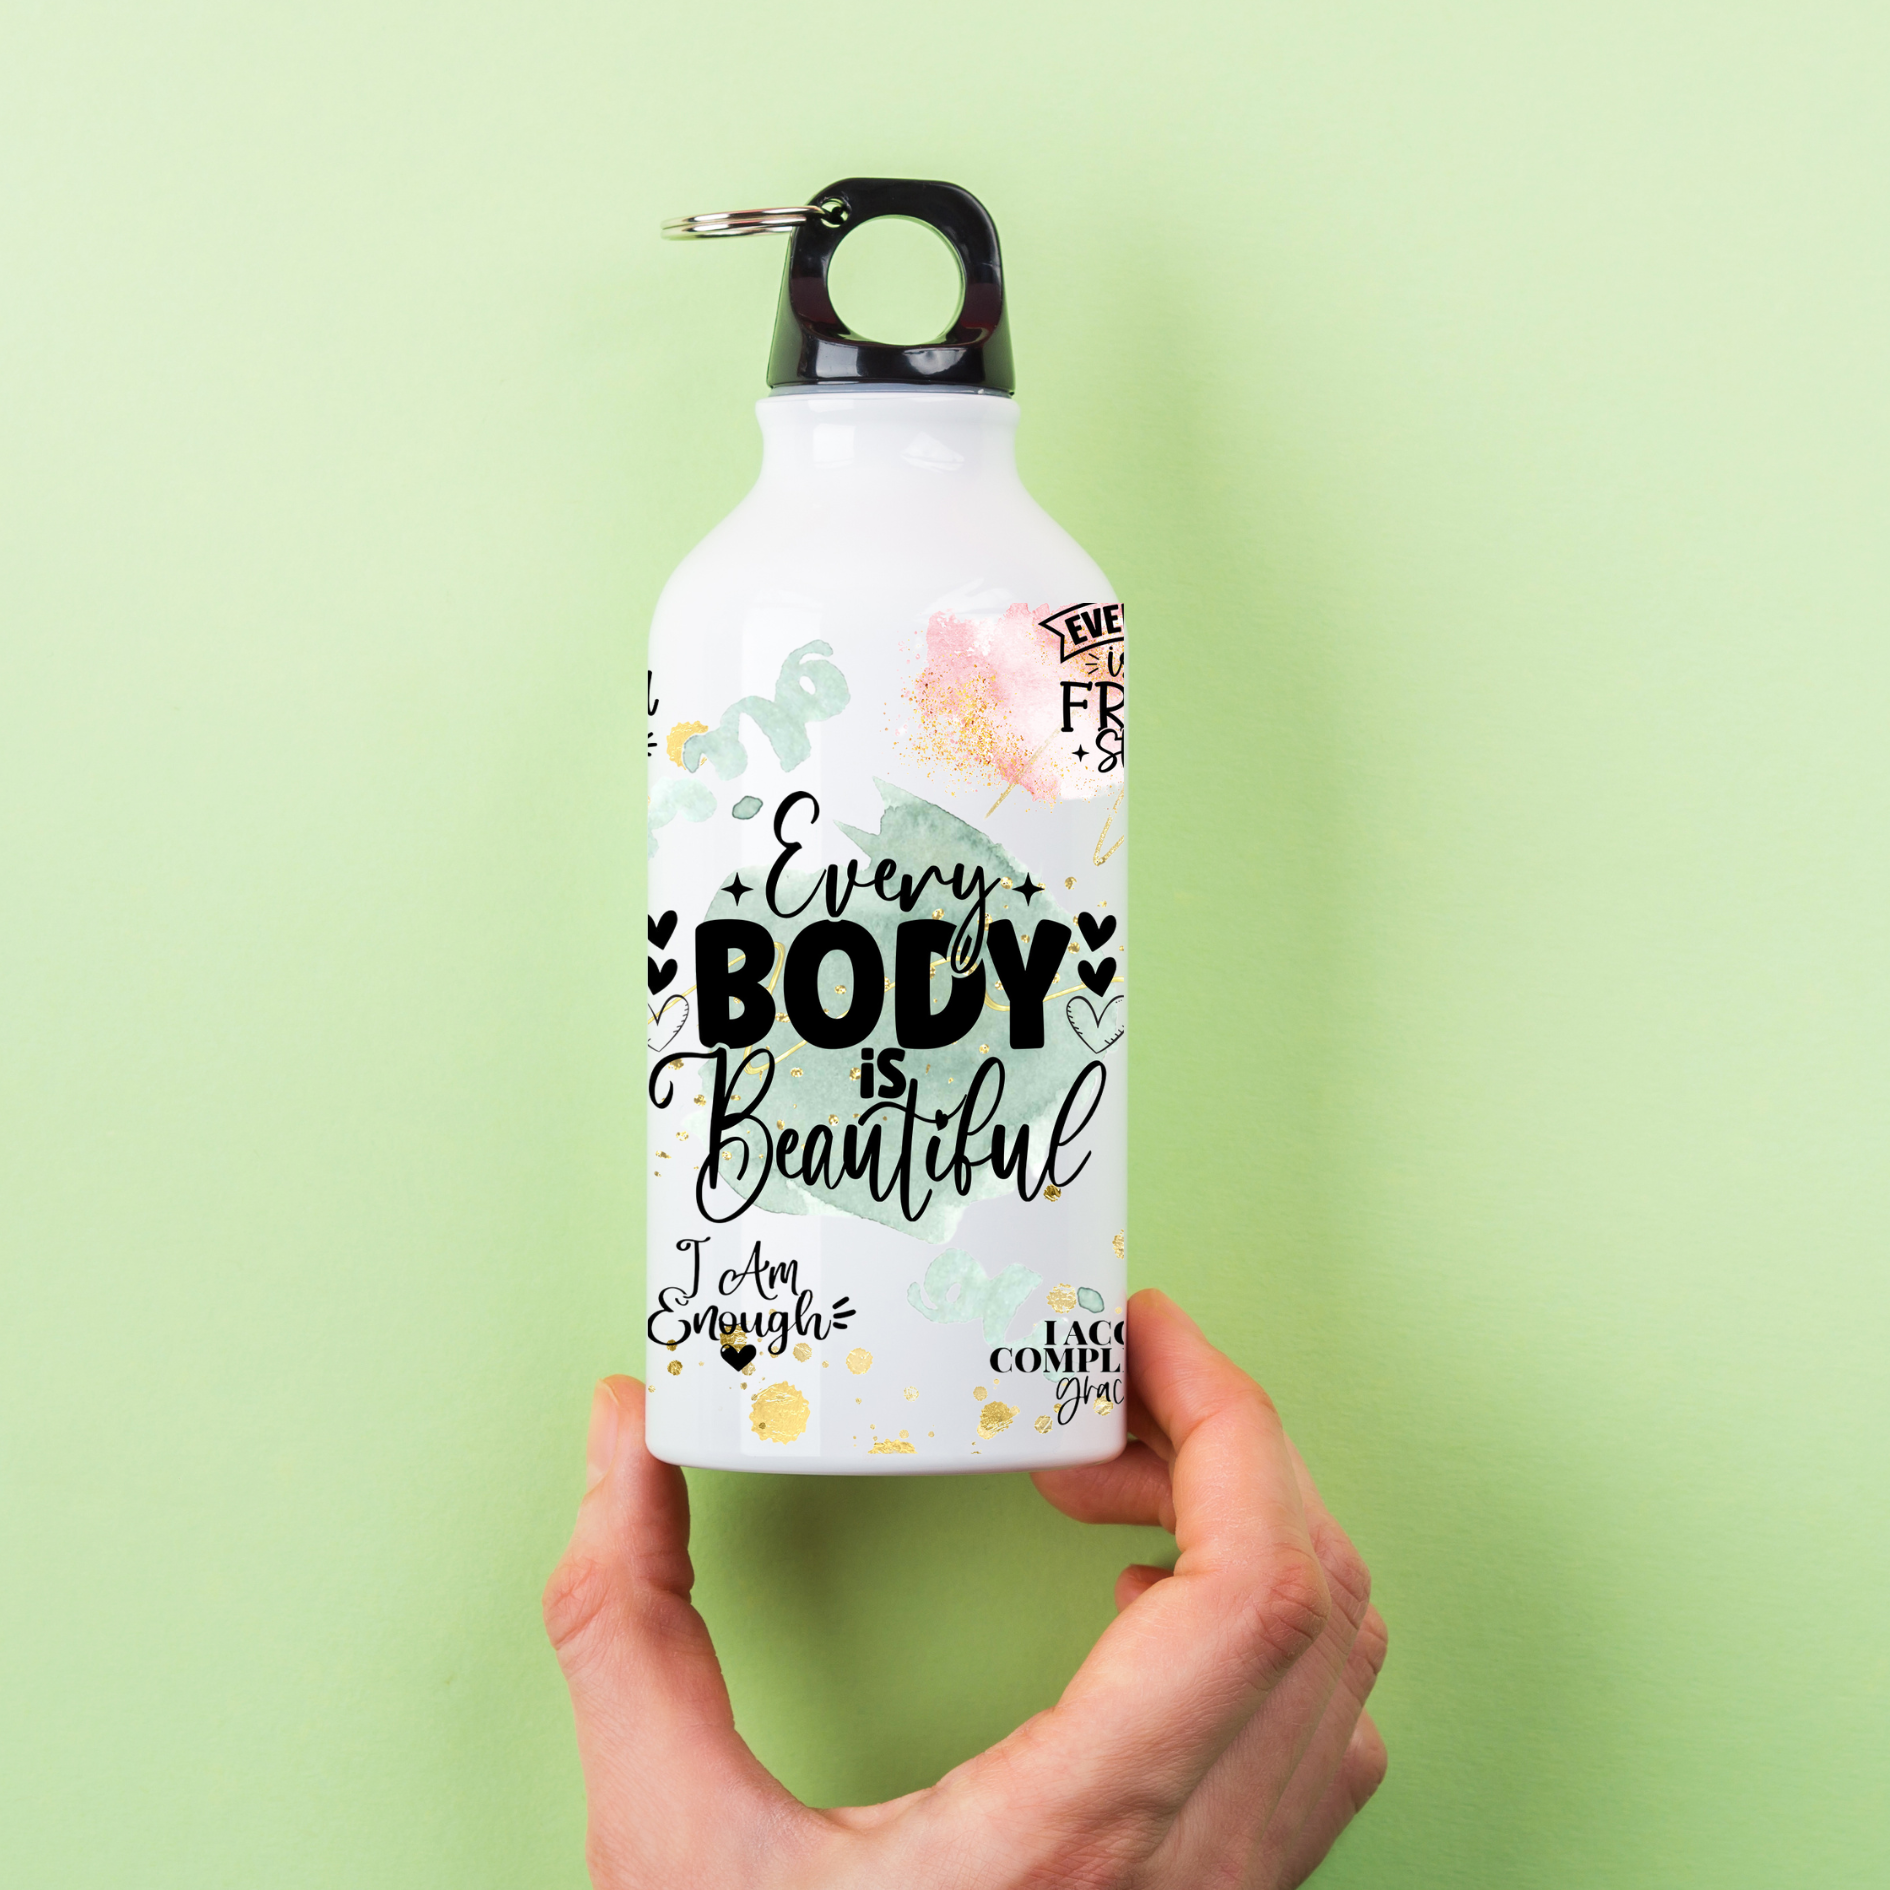
UV Direct to Film decals use a full color printing process that allows vibrant colors and detailed designs to be printed directly onto a clear UV DTF film. This film is used to easily transfer high-quality, durable images directly to cups/mugs, laptops, water bottles, phone cases and just about any hard surface you want to personalize. DTF printing is a cost-effective solution for businesses looking to enhance their printing capabilities. No heat press or special equipment is required for UV DTF transfers and they can be used on so many different substrates. UV decals are printed on UV printers. The full color ink is cured using a UV light.
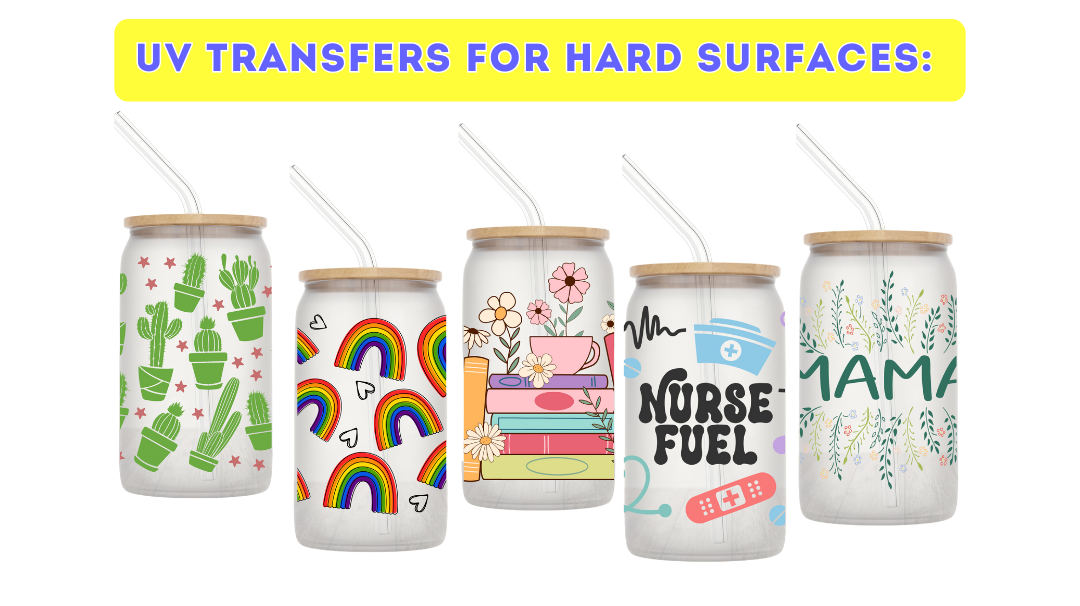
These transfers are weather-resistant and scratch resistant. (We do not recommend using in a dishwasher or microwave.) We have hundreds of uv dtf wraps for cups, tumblers and mugs. You can also upload your own custom UV DTF transfer to use on various surfaces. They are extremely cost effective and water resistant with great durability.
Quick Steps - How to Apply UV decals:
-
Clean the surface: Start by cleaning the surface where you plan to apply the decal. Use a lint free cloth and rubbing alcohol to remove any dirt, oil, etc that may be present. Allow item to air dry before applying. For UV DTF stickers, it is crucial to start with a clean and dry surface to ensure good adhesion and vibrant colors.
-
Simply peel away the backing: Gently peel the backing paper off the decal. Be very careful not to touch the adhesive side of the decal, this can leave fingerprints or marks on your transfer.
-
Carefully position the decal: Carefully position the sticker on the surface. Use your fingers or a plastic card (like a credit card edge) to carefully smooth out any bubbles or wrinkles that appear. Take your time to work the decal onto the surface starting from the center of the decal and working out to the edges.
-
Apply pressure: Once the decal has been placed onto the surface use finger tips to apply pressure throughout the design. This helps ensure a solid bond between the transfer and surface.
-
Remove clear carrier sheet: Slowly peel clear transfer (carrier) sheet away from surface. Work slowly to ensure you don’t pull up the decal from the surface. If the decal does pull up, just push it back down and rub decal to surface with firm pressure before trying to remove again.
Preparation for UV Transfer Application
Before diving into the application process, it’s crucial to prepare both the surface and the UV DTF transfer itself. Configuring the printer settings before starting the application process is essential to ensure proper alignment and achieve vibrant colors. Start by ensuring the surface is impeccably clean, dry, and free from any dust, dirt, or oils. Use a lint-free cloth to wipe away any debris, and for more stubborn stains, a gentle cleaning solution can be very effective. If you’re working with glass surfaces, opt for a glass cleaner or alcohol wipes to achieve a spotless finish.
Next, take a moment to inspect your UV DTF printed film transfers. Look for any air bubbles or wrinkles that might have formed. If you spot any, gently smooth them out using a soft cloth or a squeegee. This step is essential to ensure a smooth application and to prevent any bubbles from forming during the transfer process. By taking these preparatory steps, you’ll set the stage for a flawless application of your UV DTF transfers.

Applying UV DTF Transfers
Now that your surface and transfer are prepped, it’s time to apply the UV DTF transfer. A UV DTF printer is used for printing designs onto substrates or UV DTF transfer films. Begin by carefully peeling off the backing layer, making sure not to touch the adhesive side to avoid leaving fingerprints or marks. Position the transfer onto the prepared surface, aligning it precisely with your desired placement.
Once positioned, use a squeegee or a soft cloth to smooth out the transfer, applying even pressure to ensure a bubble-free application. For curved surfaces like cups or tumblers, a flexible squeegee or soft cloth will help conform the transfer to the shape of the surface. Applying gentle heat can also activate the adhesive, ensuring a strong bond between the transfer and the surface. This method ensures that your UV DTF transfers adhere perfectly, even on challenging surfaces.
Troubleshooting UV DTF Transfers and Advanced Techniques
Even with careful preparation, you might encounter some common issues during the application process, such as air bubbles, wrinkles, or uneven adhesion. To tackle these problems, use a squeegee or a soft cloth to smooth out the transfer, applying gentle pressure. For particularly stubborn air bubbles, a pin or needle can be used to carefully prick the bubble and then smooth out the surrounding area.
Conclusion
UV DTF transfers offer a versatile and durable solution for customizing a wide range of surfaces, from glass and metal to fabric. UV printing technologies provide numerous advantages, including the ability to create high-quality prints on various materials with vibrant, detailed designs. By following the preparation and application steps outlined above, you can achieve professional-quality results with minimal effort. With the right techniques and tools, you can unlock the full potential of UV DTF transfers and take your customization projects to the next level. Whether you’re personalizing items for yourself or for a business, these tips will help you make the most of this innovative printing technology.


