


To properly press and apply custom DTF heat transfers for long-lasting results, pre press for about 5 seconds to remove wrinkles and environmental moisture. Set your heat press to around 320°F. Align the transfer on the fabric, cover it with a Teflon sheet, and press firmly for 10-15 seconds. Following these steps can help your designs stay vibrant and intact. There's more to discover about troubleshooting and post-press care!
Understanding DTF Transfers: What You Need to Know
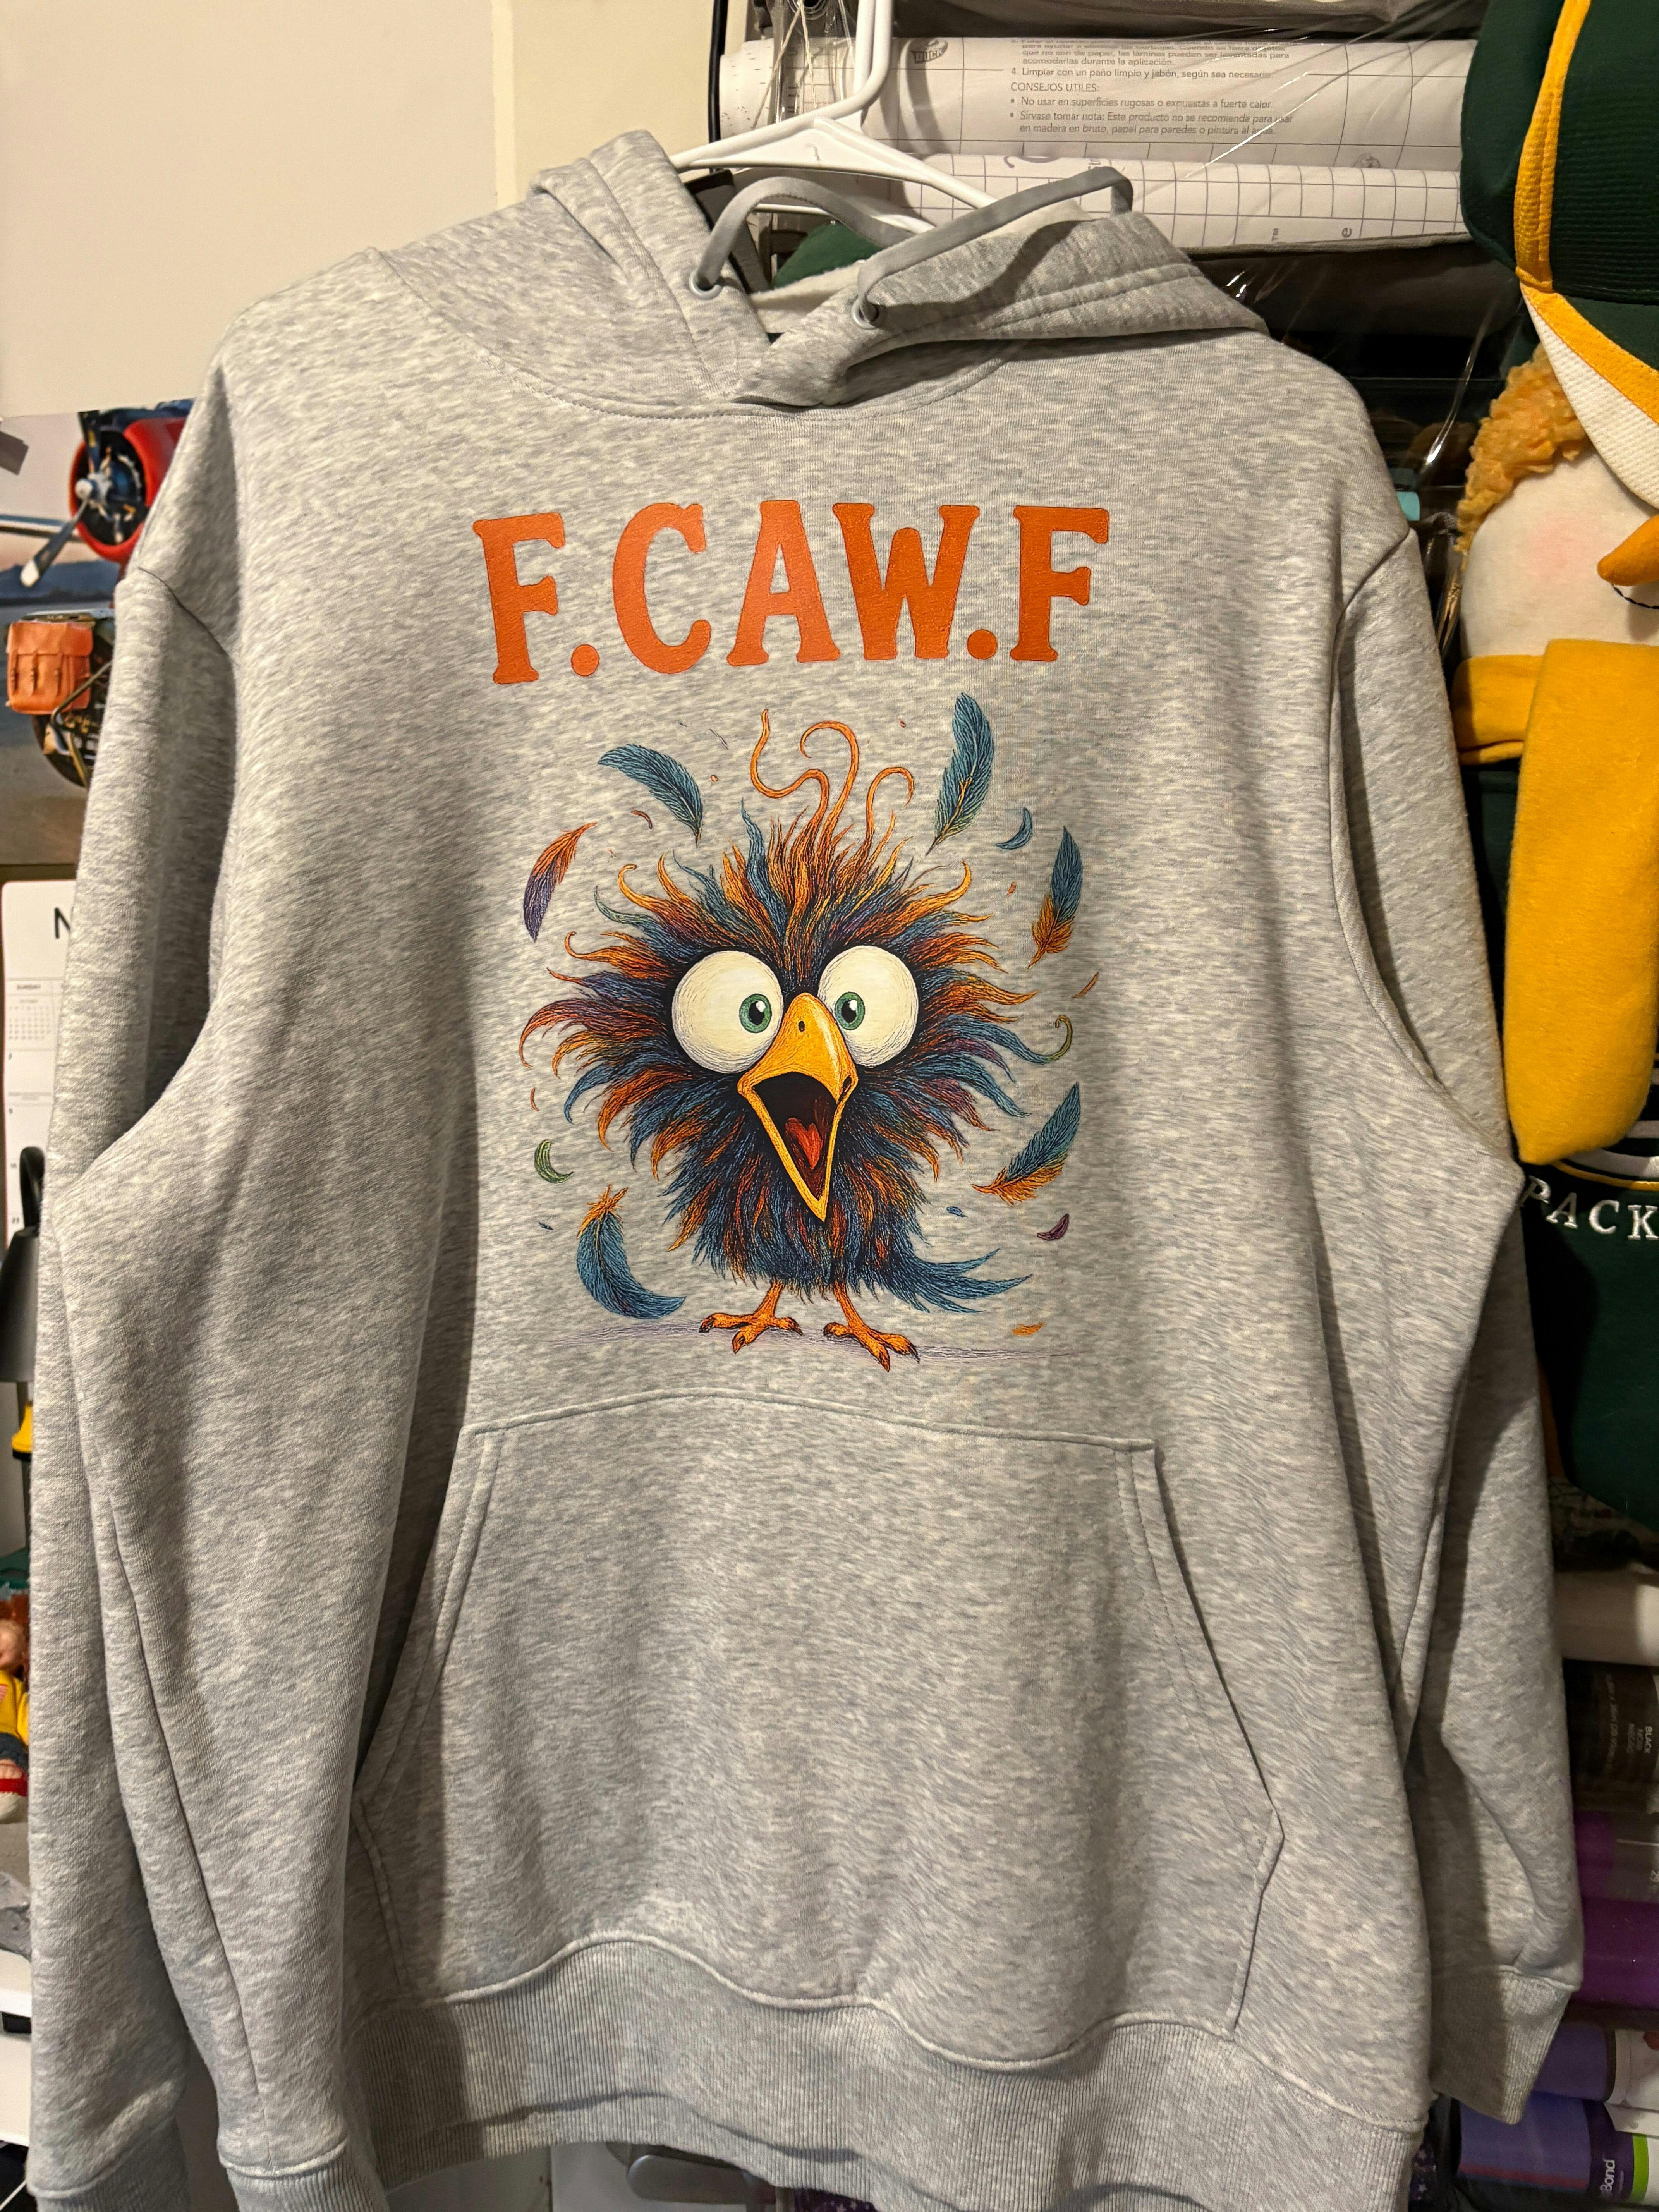
DTF transfers, or Direct-to-Film transfers, have revolutionized the way we print designs on fabric. Instead of using traditional methods, you can now print vibrant, high-quality images directly onto a special film.
This process allows for intricate designs, including fine details and gradients, that stand out on your fabric. You'll appreciate how versatile these transfers are; they work well on various fabric, from cotton, polyester to polyester blends.
Plus, the application process is relatively straightforward, giving you more control over the final product. Just remember, the right equipment and materials are essential for achieving the best results.
Preparing Your Fabric for DTF Transfer Application
Start with a quick 5 second prepress to remove wrinkles and any environmental moisture that may be trapped in the fabric especially if you are in a humid environment. This prep step makes a significant difference!
The Importance of Temperature and Pressure Settings
Getting the temperature and pressure settings right is essential for a successful DTF transfer application. If you don't set the right temperature, you risk either underheating or overheating the transfer, which can lead to poor adhesion or damage to your fabric.
Similarly, incorrect pressure can affect how well the transfer bonds, resulting in peeling or fading over time.
Always refer to the manufacturer's guidelines for specific temperature and pressure recommendations based on your transfer and fabric type.
It's smart to invest in a reliable heat press with adjustable settings, allowing you to achieve consistent results.
We include an instruction sheet with all orders and you can also find a quick guide and video on how to apply DTF heat transfers to your apparel here.
Step-by-Step Guide to Pressing DTF Transfers
Pressing DTF transfers involves a straightforward process that, when followed carefully, can yield professional results.
First, preheat your heat press to the recommended temperature, usually around 320°F.
Next, prepare your garment by ensuring it's clean and wrinkle-free. Place the DTF transfer on the desired area, making sure it's aligned correctly.
For the first press, close the heat press firmly for about 10-15 seconds, applying even medium to high pressure.
For best results we recommend a second press with either freezer paper, Teflon sheet or T Seal to protect the transfer and the press. Again, close the heat press firmly for about 10-15 seconds, applying even medium to high pressure.
Once the time is up, allow it to cool and peel the transfer.
Follow these steps, and you'll achieve vibrant, long-lasting designs every time!
Post-Press Care: Ensuring Longevity of Your Transfers
Once you've successfully pressed your DTF transfers, taking proper care of them is essential to ensure they last.
When it's time to wash, turn the garment inside out and use cold water with a gentle cycle. Avoid bleach and fabric softeners, as these can damage the transfer.
For drying, opt for air-drying or a low-heat setting in the dryer. Ironing directly on the transfer can also harm it, so always place a cloth between the iron and the design.
Troubleshooting Common Issues With DTF Transfers
Even with proper care, you might encounter some common issues with DTF transfers.
One frequent problem is poor adhesion. This can happen if the temperature or pressure isn't right during pressing. Make sure you're using the recommended settings for your specific transfer. If you see peeling or lifting, try re-pressing for a few seconds with a cover sheet.
Another issue could be fading after washing. Ensure you're working with a DTF printer that uses high-quality materials and follow the washing instructions closely.
Frequently Asked Questions
Can DTF Transfers Be Applied to All Fabric Types?
You can apply DTF transfers to many fabric types, but not all. Cotton, polyester, and blends work well, while some fabrics like nylon may not hold the transfer as effectively. Always test before proceeding.
How Do I Store Unused DTF Transfers?
To store unused DTF transfers, keep them in a cool, dry place away from direct sunlight. Make sure to avoid moisture and extreme temperatures, as these can damage the transfers and affect their quality.
Can I Reuse DTF Transfers?
You can't reuse DTF transfers once they've been applied. The adhesive bonds permanently to the fabric, so it's best to use fresh transfers for each project to ensure the best quality and longevity of your designs.
What Kind of Printer Do I Need for DTF Transfers?
You'll need a specialized DTF printer that uses pigment inks. These printers are designed to handle the unique DTF process, ensuring vibrant colors and durability in your transfers, so your prints look great for longer. You can also partner with a reputable DTF printer that is an expert in the production process to ensure you are using high quality DTF heat transfers.
In conclusion, mastering the art of applying DTF transfers can lead to stunning, long-lasting results on your fabrics. By preparing your material properly, adjusting temperature and pressure settings, and following the step-by-step guide, you'll ensure a successful application every time. Don't forget to care for your transfers post-press to maintain their quality. With a little practice and attention to detail, you'll create vibrant, durable designs that stand the test of time.
We are here to guide you on your DTF transfer journey. We offer customer support via phone, email and even live video chat. Let's chat today! Call 352-340-4343 option 2 or email hello@weprintupress.com
Happy pressing!


1 comment
Do you put these on the shirt picture side up, or do you flip it so the print side is down>